Friday, June 30, 2006

Just in case someone missed it, Autum posted a tutorial for the quilted bag here. Here's my first attempt using her tutorial. Thanks for sharing all your secrets, Autum!

More on this bag at my site, here.

Thursday, June 22, 2006

Experimental Embellishment Bag

About a month ago I took a felting class offered by a member of our local ASG. The class was on hand felting as well as using the Babylock Embellisher. I immediately learned that I will never be a hand felter and I was the only way to actually felt a finger! Ouch!

The afternoon part of the class was using the Babylock Embellisher, which I loved! I have had my Embellisher since after Christmas and have played with it off and on. This class opened up a lot of potential design elements for me and allowed all of us in the class to play and experiment with different fibers-fabric, wool and silk roving, yarns, lace, silk flowers (minus the plastic fixtures) and more.

We were tasked with making something from our embellished experiments-pillow, purse, tote bag, whatever. I spent several days playing around with my fabric piece, which was leftover from a coat I made. I experiemented to my hearts desire.

Last weekend I decided to turn the experiment into a purse using a McCall's pattern that came with the booklet by Nancy Zieman of Nancy's Notions on embellished purses. This is a great pattern, as it is very simple to make. I used information from her booklet and used duck cloth for the interlining instead of fusible fleece which I am prone to use most. I used fat quarter fabric I have had aging in my stash for a long time for the linining. Here is the finished project. Now that I have played with various fibers and such I am ready to make some more fabric to turn into purses and jackets.

Front view

Back view


Inside of bag.

Full view hanging.

Saturday, June 17, 2006

More bags... ^^

I must say I'm very intrigued with your quilted bags, I've never tried quilting before so expect my first humble tries soon! ^^

My new bags from last week:


I must admit this is my favourite model so far! It's very spacious, very neatly fits the armpit as well as comfortable while kept in hand. I'll be making one for myself definitely!
For the details and patterns - visit my Friendsheep Bag-o-rama blog! ^^

I also finished another knitted&felted bag, namely Yarn Guard Basket (my own design, pattern available here):


Happy weekend, everyone! ^^

Wednesday, June 14, 2006

A few tips...

I'm not sure how helpful this will be, but I thought I could share what works for me!

1) Always press your seams --Not only will it look more professional and neat, it will let you know the "true" measurements. No more nasty surprises when the the lining and the outside don't match and you sew in all those wrinkles.

2) To help match the seams better, I finish the the outside first, and then re-measure the liner to have the right amount of seam allowances.

2) If you want sturdy support (the bag stands on its own) but not the stiffness, try quilting! You can use a pre-quilted liner like this:


Or quilt it yourself -- I use about 3-5 vertical stitch lines on the inside liner like this. I like this SO much better than the stiff interfacing -- it feels great against your body. Also, if you you use the right handles and closure, the bag can be machine washable too. Just check the fit since the extra thickness can distort the liner size.


Which reminds me to try some of those quilted bags everyone has been making!

** Someone was asking about starting a shop on Etsy...it's fairly easy. If you can blog you can set one up. The hard part is promoting it. Though the site is still in its infancy, handbags is one of the most competitive categories. You need to figure how much time you want to devote to it (4hrs/week, 10hr, etc) and set your goals accordingly. But at the very least it is a great way to refer friends and family interested in your wares! If anyone has any questions, feel free to contact me.

For Those Interested in the Quilted Bag

I followed the directions on the post here. This is a great blog with lots of bag ideas so enjoy!

Cindi

Me,2

I am really beginning to love this quilted bag. It is amazing all of the combinations of colors and prints I have seen. I want to make one 2. Is there a specific pattern or specific bag making book or booklet. Enquiry minds want to know!!!

Recently I made a quilted bag for an exchange student who has been with our friends for over a year. She is going home this month.


I added a cloth flower to this bag. To make this flower I used the tutorial found here. I hope some will find this a useful tool!

Sew Long for Now.

Tuesday, June 13, 2006

Purse collage


Since I am not adept with Photo Shop to create those great collages, here is my "organic" one. The first are my felted ones -- we have handbags, lunch bags, clutches, bookbags, and totebags. The button hole bags made sweet birthday presents (my girls enjoyed filling them with stickers, crayons, barrettes and etc).

Here are some of the sewn ones. Most are in my shop -- so instead of obsession, they are called inventory!


It's nice to be with other like-minded individuals!

Sunday, June 11, 2006

My First Quilted Bag

This is my first attemp at a quilted bag. I've seen them all over the place, it seems, but the only places I can think of right now are Creative Little Daisy and Cindi's Sewing. What a fun bag to make - but it really makes me want to head out and buy more fabric to mix and match. Dangerous urges...
I'd like to try one with freemotion quilting instead of just the lines, and maybe wider strips. Has anyone tried the freemotion quilting? I'm wondering how it will look.

My current favorite bag

Hi! Inaugural post here...First off, I have been inspired by all the great bags here -- wonderful variety in styles and fabric combinations! A little about myself...I'm fairly new to the bag obsession (I spent years carting a Land's End diaper bag before it was ditched recently) having just rediscovered sewing again. But as many of you know, it's addictive! But here is my current favorite bag:
It crafted from mainly from thrift store finds (the quilted velvet was a cast-off from a theatre company -- it was labeled "the Countessa's gown"). The inside has about 7 pockets -- you can never have too much - for pens, cell phone, pocketbook, planner, and etc.

I love this bag because it is roomy,soft, durable and goes with everything. I tend to favor darker, neutral tones and then use embellishments to add some fun and color. The rosette is a doubled up lavendar organza that was hand sewn in a spiral.

I've been resistant to exchanging it for a more summery bag!

Friday, June 09, 2006

Tricks of the Trade???

So last week Natalie Joy's post asked for people to share their tricks of the trade. I feel not-so-qualified to be posting on the "trade", but I'm going to give it a shot. I'd love to know what YOUR techniques are as well so PLEASE SHARE! I haven't been sewing purses for long, but I sure do wish that someone had been there to guide me through some things along the way. The process I go through is one that I have settled into after making many mistakes, and I'm sure some of you longtime sewers out there are going to laugh at me, but for the sake of the few that may be newer to bag-making than I am, here goes.

* I wash dry and iron my fabric. If I know that all of it is going to be used for purses eventually, I fuse the entire piece with interfacing. My favorite is Amor Suitweight that I can get at WalMart, I honestly haven't found that perfect weight anywhere else. Even other brands of suitweight aren't what I'm looking for. Fusing the entire piece first means that I do waste a small amount of interfacing but it saves me a cutting step later on in the process.

* I cut my pieces, then, if the bag is any larger than an evening bag, I cut fusible fleece for the liner. I cut the fleece 1/2" smaller all the way around so that I don't have bulky seams. Putting the fleece on the liner also gives the pockets something to grip to. Yes, my liner ends up having 2 layers on it - interfacing AND fleece. Fleece alone hasn't seemed to give me the sturdiness I like. If anyone else has a better idea, PLEASE let me know!

* I make my pockets out of 2 layers of already-fused fabric - they seem to be nice and sturdy that way. Can you tell I'm into sturdiness?

* If I make up my own pattern, most of the time I'll box corners. I picked up this trick when trying to copy a friend's purse - it was really eye-opening and means I can cut an exterior out of one piece if the print on the fabric allows.

* On small bags, my straps just have interfacing in them. For large bags with thick straps, I've been known to put a strip of fusible fleece in there. Again, fusible fleece alone results in floppy handles so they are interfaced also.

* I use interlining (available at WalMart or JoAnn's) to stabilize the bottom of the bag so that it doesn't "hang out". This is where the beauty of the boxed corners come in. When you box your corners, you are left with a triangular hem that you can cut off. I leave them on the exterior and sew the interlining to the triangles.

* Interlining can come in handy for a bag that's big and boxy as well. I've seen a pattern that called for slipping interlining between the exterior and liner throughout the whole bag so that it would keep it's box shape. This is what I did for the black and white evening bag in this post.

For an example of a bag made just like this, click here.

Okay, now stop laughing and tell me what YOU do.

Wednesday, June 07, 2006

Crochet Vacation Bag

I am getting ready to go on vacation--to the mountains. And I crocheted this square bag from One Skein to carry around with me while shopping in quaint little towns.


I did it in an evening and then lined it so my keys wouldn't stick out and stuff. I also have Amy Butler's pattern for The Dorothy Bag, but I woun't be able to start that until I get back.

Tuesday, June 06, 2006

Like shoes one can never have too many bags!

I have been very impressed to see all the talented sewists here and the lovely bags. So very inspiring. Years ago while living in Lakeland, FL I attended a class by Linda McGhee and from that I started making numerous purses for friends, family and for a consignment shop. I stopped making purses for about five years, why I don't know.

But I am getting back into the swing of it, so here are few photos of those I have made over the past year.


The left one is wool felt in black drafting using directions from one of several Purse Books I have in my sewing library. The second photo, not very good one sorry, is the Ghee Hobo I embroidered designs from A Bit of Stitch plus added decorative stitches using my D1. The right photo is the Loes Hinses Butterfly Bag. This is a tapestry fabric I purchased online.

Thanks for allowing me to share. I am currently working on another purse using a McCall's pattern. This one is from wool cashmere left over from a jacket project. I used the Babylock Embellisher to felt/needle punch roving and other fabrics on it. When complete I will post photo.

Sunday, June 04, 2006

Felted Knitting Bag - free pattern


I just wanted to let you girls know that I've finished another felted bag (my second felted project ever! ^^) - this one is for the Tote Exchange KAL. I call it the Knitting Bag because it's roomy enough for a pair of straight needles and some yarn.
If anyone's interested, here you can find the free pattern for this bag, because I designed it myself. *^-^*

Friday, June 02, 2006

Me too!

Hi! My name is Elsa and I am a bagaholic, too! Actually I possibly have a multiple addiction syndrom of some kind, as bags is not the only kind if stuff I like making...
Here's a set of bags I've made over the past few years:

Thursday, June 01, 2006

Tricks of the Trade

There are some beautiful and amazing bags being posted. So many of them have such great detail and look so well constructed. Some of them look so sturdy. Every time I see someones pictures, I think "How did they do that?" Would you all be interested in sharing some of your tricks of the trade with a beginner? What are some of the tools you use for cutting out and constructing your bags? Do you use patterns or do they just come from your head? What are the preferred interfacings and linings? Do you use different types of linings for different types of bags? I just gotta know. Rather than having to write a super long comment, maybe some of you more experienced "baggers" could share a post about your favorite tricks of the trade. A step by step of your favorite bags would be great, too.
Looking forward to some great tips,
Natalie Joy

Bagaholic or bagalicious?!!

Hi, everyone! My name is Cathy and I haven't found too many bags I don't like. I love seeing all the bags you all are making.

Here are some examples of bags I have made:


I rarely make the same bag twice. I love the creativity involved in mixing fabrics and accessories.

Coin purse

Really this picture does not do this purse justice ! The purse frame is from joggles.com and is truly gorgeous. And it's a nice solid heavy one. The fabric is done with black velvet, soy silk and angelina fibers and the purse is lined in black silk.

Bag-heavy post ^^

I'm so happy that I'm here among so many talented bag-creators, I enjoy reading about and seeing every bag of yours! ^-^

My husband Robert left for a business trip last evening, so I sat until very late and was finishing some bags for sale, and here are the results of my late night efforts (all patterns are mine, feel free to copy them if you like):

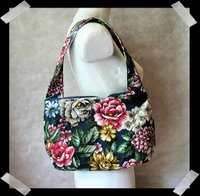
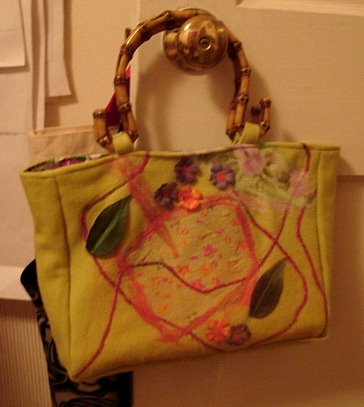
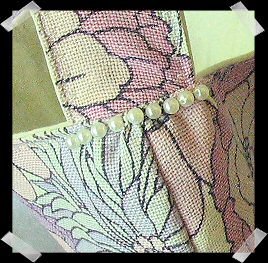
This one has a zipper closure and I'm proud of the way I sewn on the handle - it's attached not on the sides of the bag, but on the front and back upper corners, hidden under the triangles of leather. I have two more bags in this shape from different fabrics ready to sew.


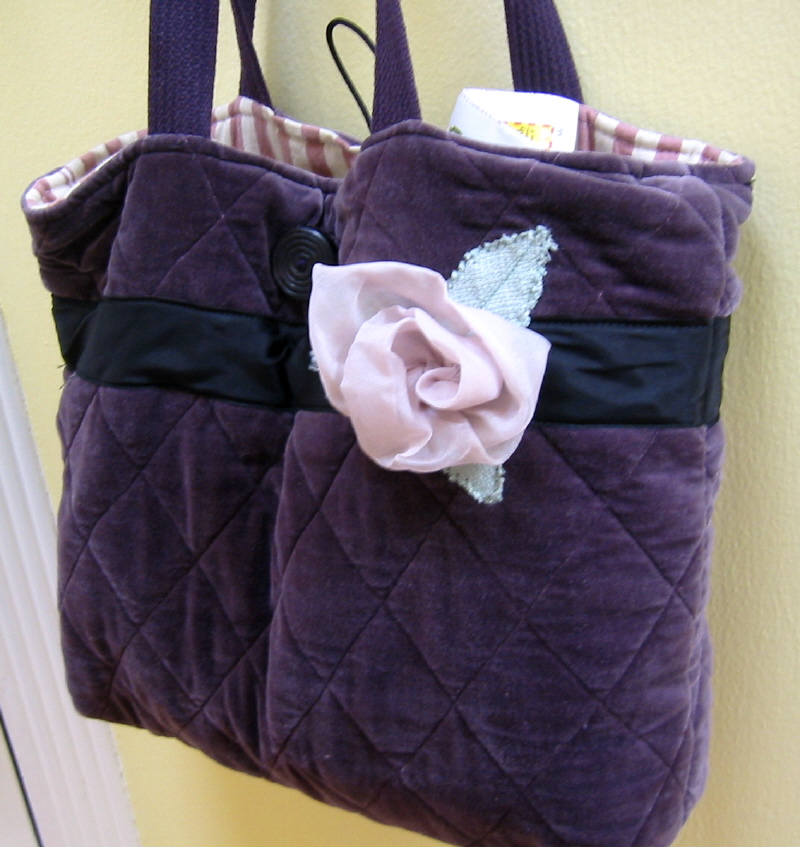
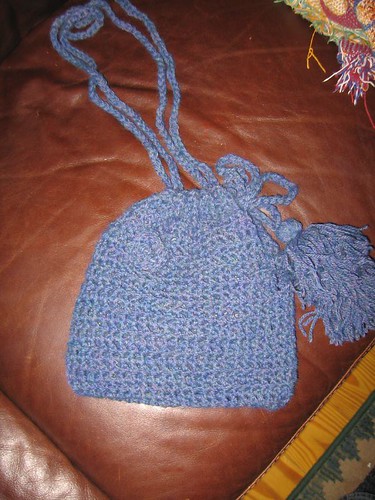
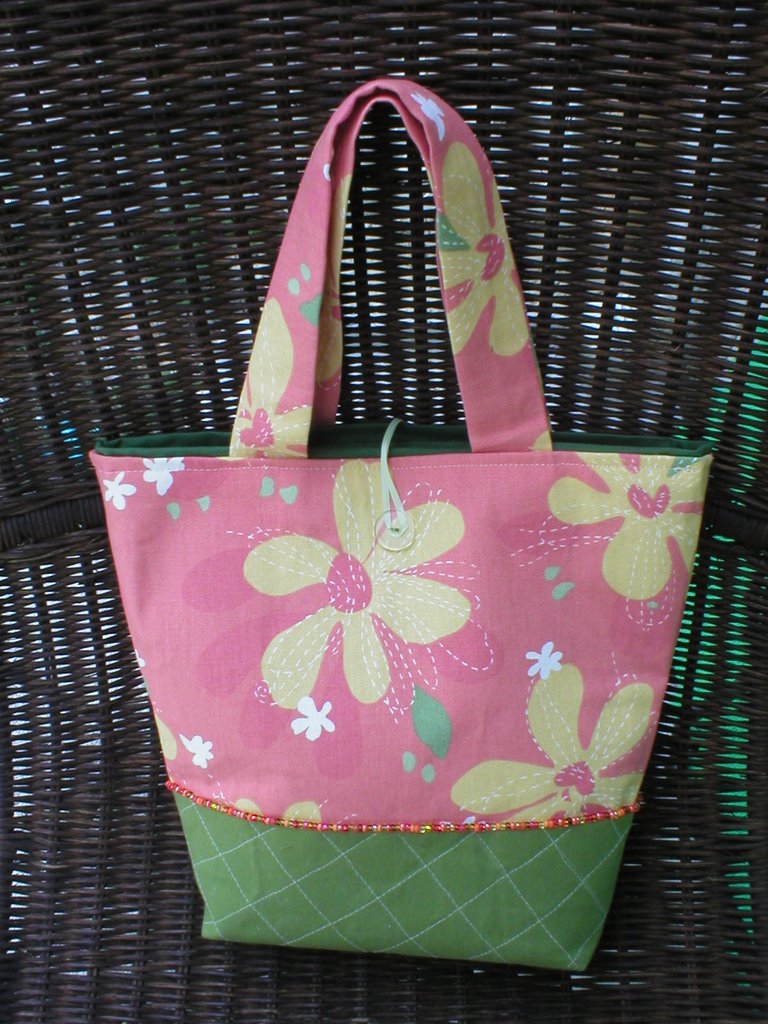
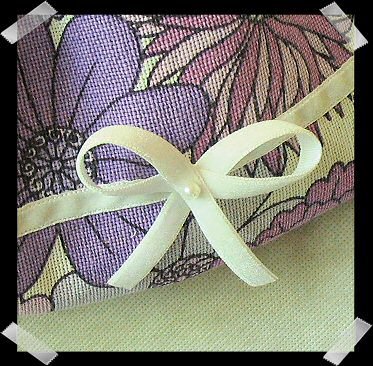
These two have the rectangular shape, but they have elastic in a tunnel . The first one has a wooden button&velvet ribbon clousure.


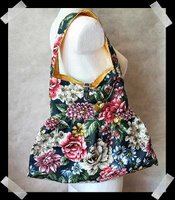
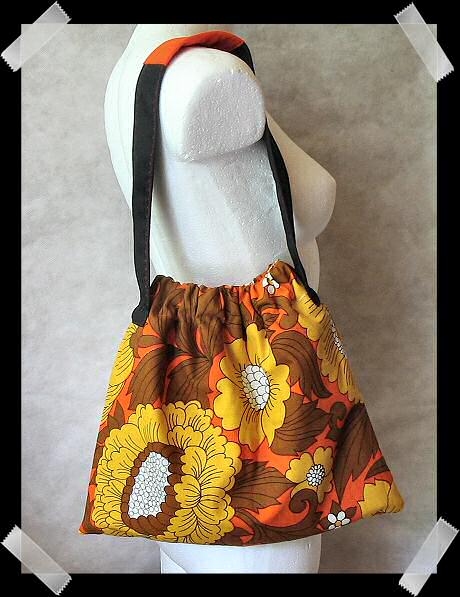
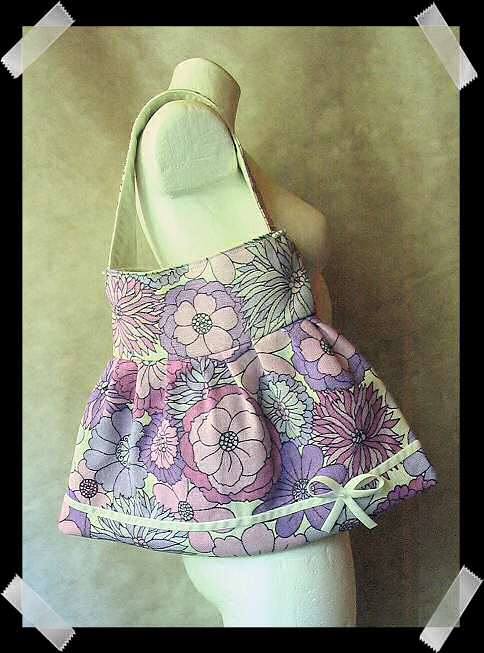
This one looks a bit like a skirt, because the bottom part is pleated. (Yes, I know, it's the third bag of the same fabric, but now I have no more of this one left! ^^).


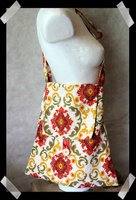
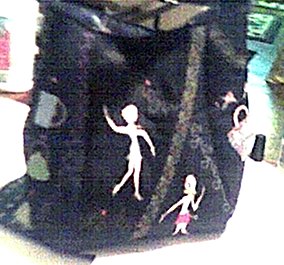
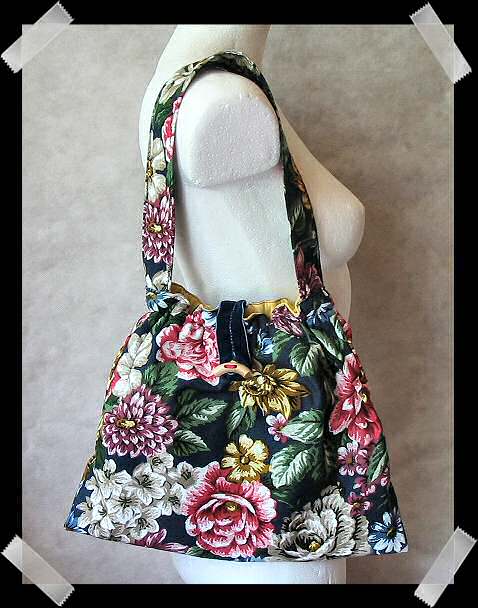
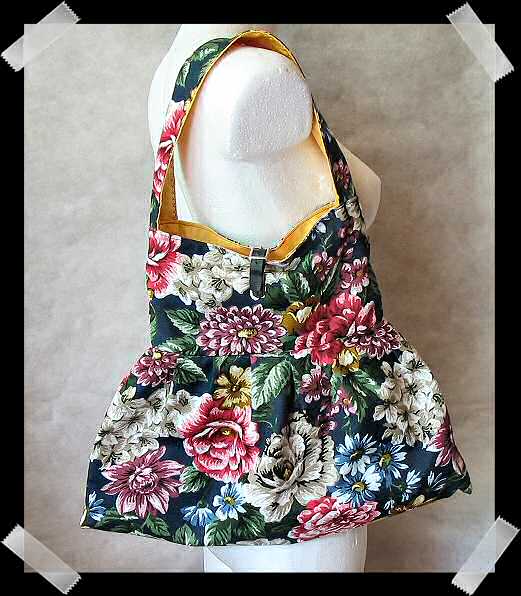
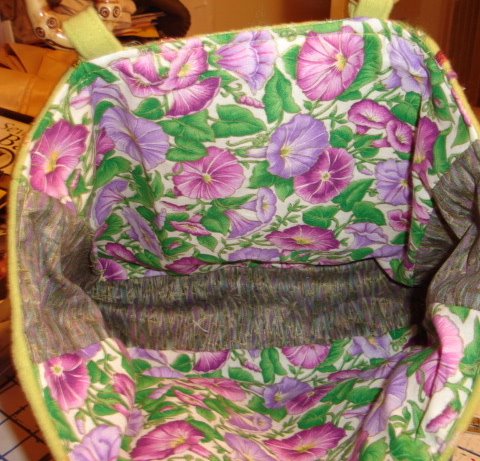
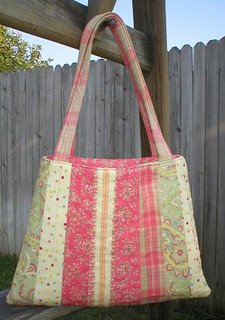
This one is bigger and has a long handle that can go across the chest. The lining is yellow. I've made a skirt out of this fabric once and then I decided to make the bag out of the rest.


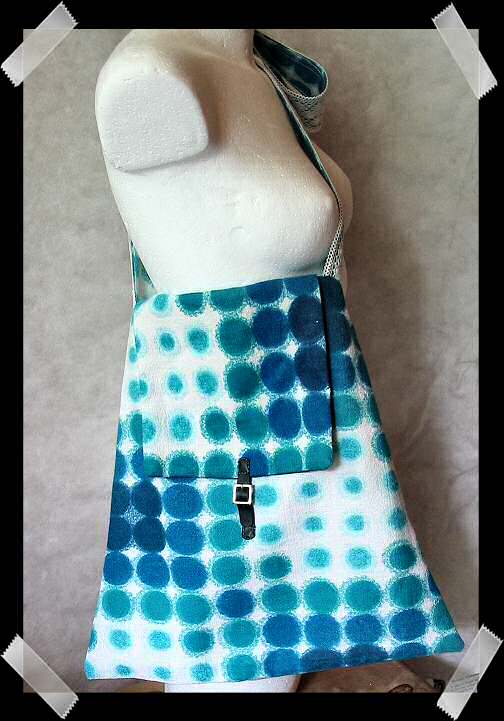
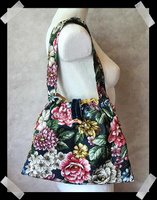
Okay, you've already seen this one on my first bag collage, but I've added the closing buckle.

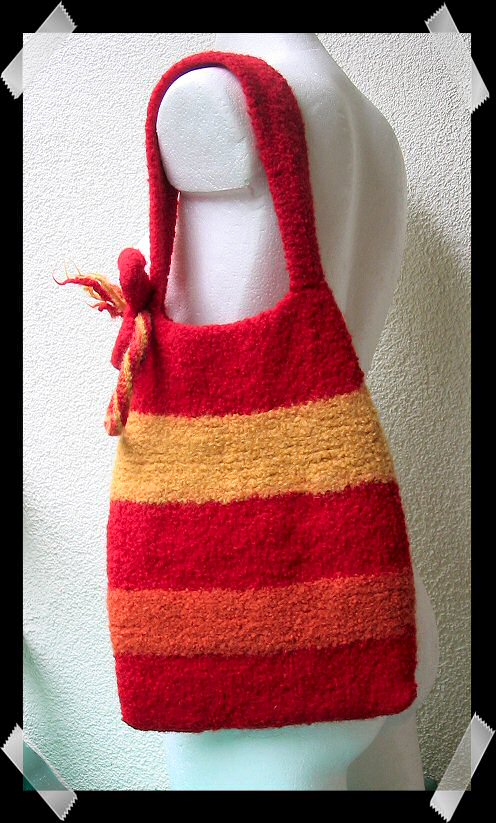
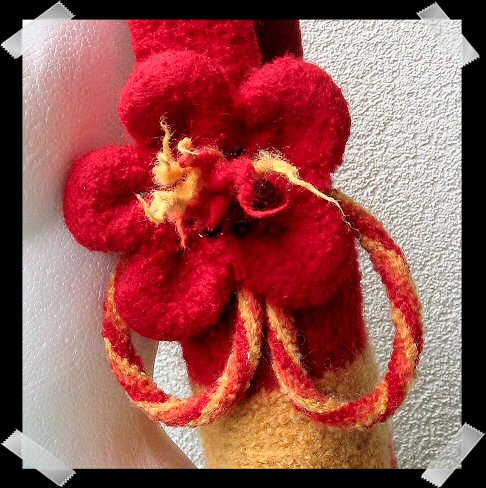
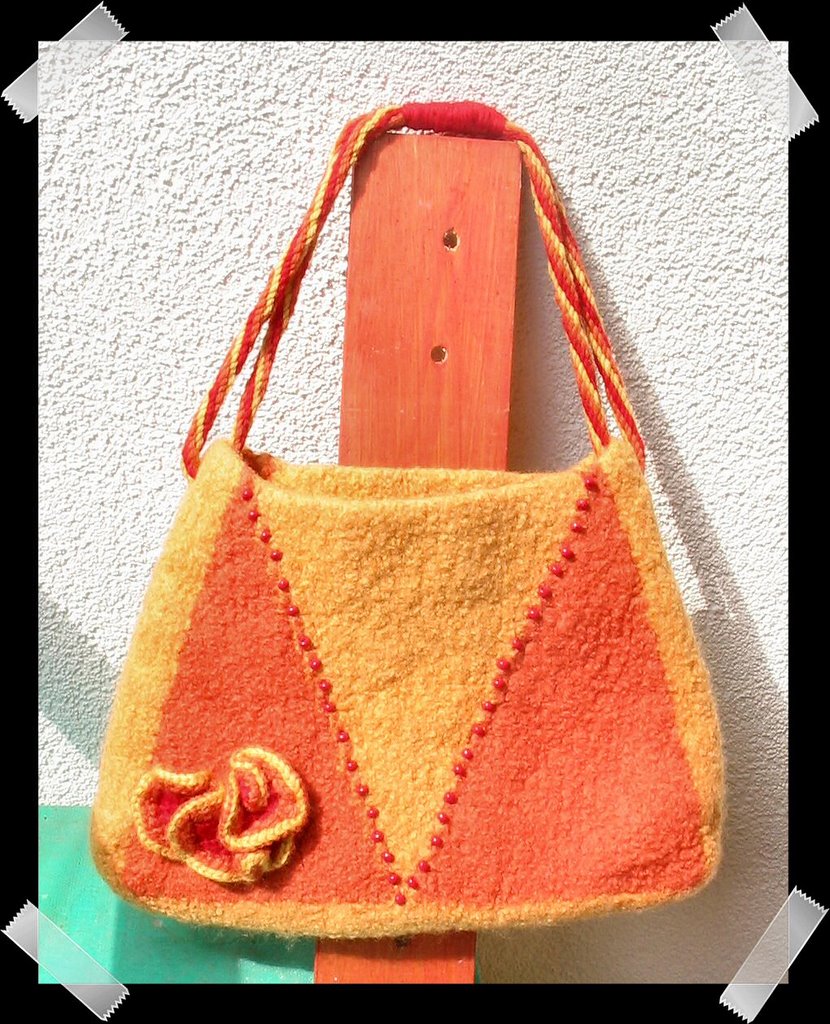
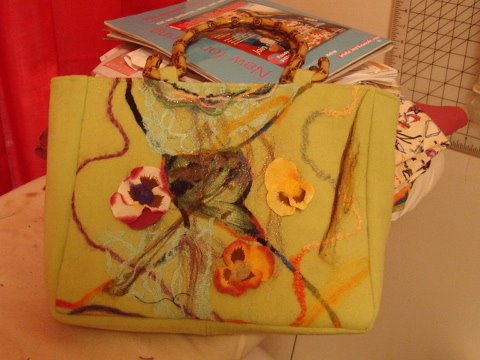
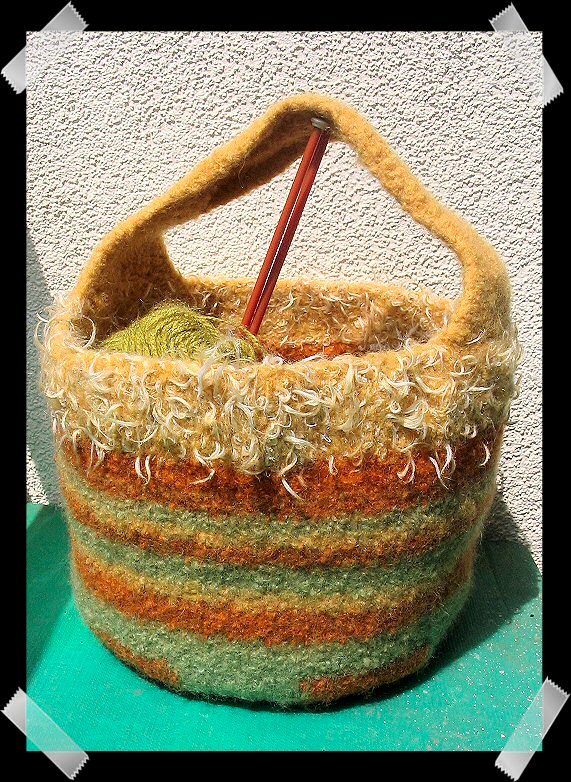
Last weekend I finally finished the Felted Bowling Bag I've been knitting for the Bag Me KAL.

This was my first ever felted project and it was fun! I changed the idea of the handles - I decided to make a cord using a very simple circular tool (used even in the medieval times! ^^), which resulted in a three-coloured twisted cord that I put through the holes in the sides of the bag and sewn together with red yarn. (If anyone's interested in the cord making, I'll post the tutorial soon). I also knitted and felted the flower which I sewn on the front bottom of the bag, and I also embelished it with some glass beads.

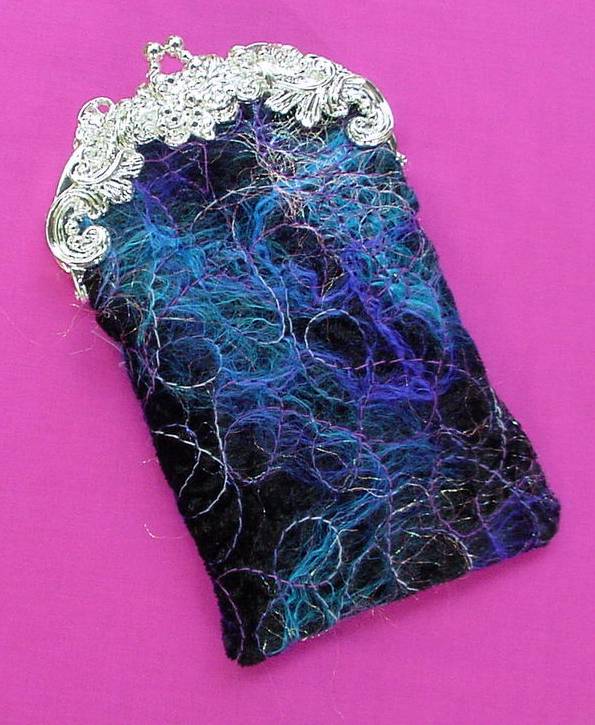
I'm continuing the bag felting experience - I've knitted and felted the bag for the Tote Exchange Pal, but it's still a bit wet, so I cannot show this to you yet. I'm checking on it everyday to see whether it's finally dry to assemble it with a knitted&felted flower I created (and send it to my pal).
Have you got any good ideas for drying the felted bags?
I left it outside in the sun and wind, I used my hair-dryer, it's a pity central heating is off because I could leave the bag near the radiator (note to myself: felting is an Autumn/Winter craft).

Happy bag-making! ^^